材料:
3200g起士
餅乾底: 500g
butter 800g
酸奶
消化餅 3包
1000g SUGER
ICING SUGER 少許
30ea egg
lemon jusice 半個
以上可作8吋7個
貼心小叮嚀:做之前最好事先將CHEESE先拿出退冰 這樣CHEESE比較部會結粒
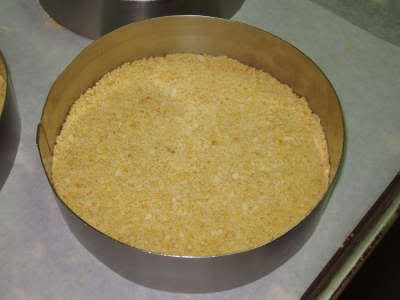
1.首先 先把餅乾底舖在模子底部 壓平放入烤箱烤約7分鐘拿出再壓平
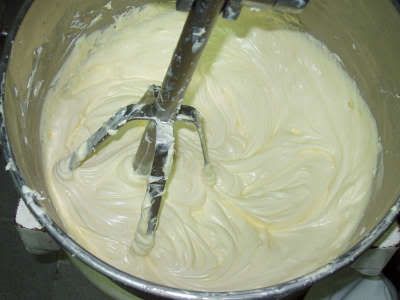
2.將CHEESE放入打軟再加入SUGER充分打勻
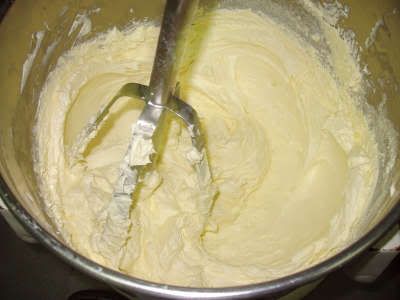
3.打到CHEESE跟SUGER結合後CHEESE沒有結粒即可
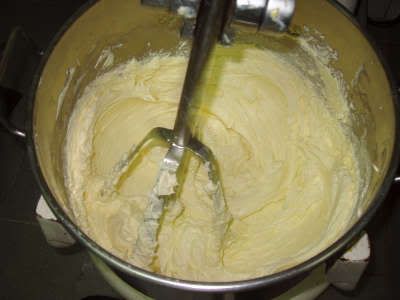
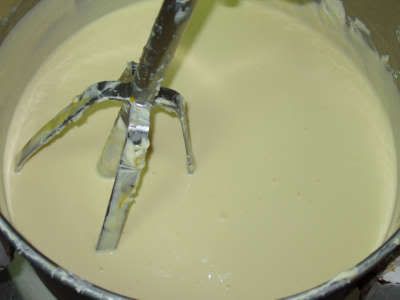
4.打勻後加入酸奶拌勻後即可慢慢加入蛋記的要刮缸不然底下會結粒
5.拌勻後將 lemon juice 加入即可
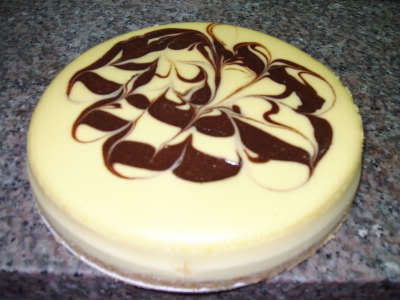
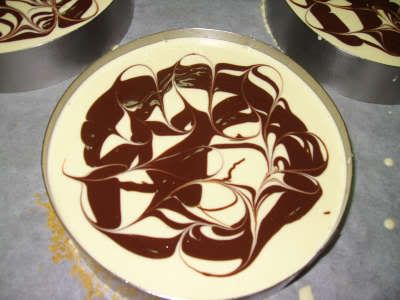
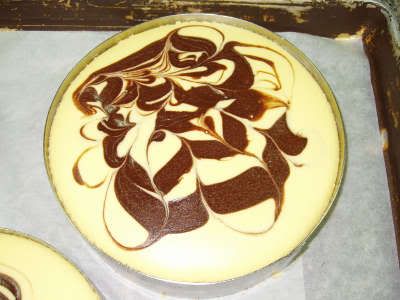
6.將cheese糊倒入後,上面用少許milk50g巧克力100g加入少許cheese糊拌勻
在上面畫出你想要的花紋即可放入烤箱烘烤~~
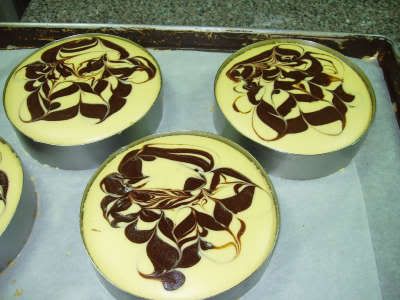
7.這是出爐後的cheese cake ~~~
8.記的出爐後要用小刀沾奶油在模型圈將CHEESE跟模型圈分離(這個步驟要注意)
9.以下是出爐後等他冷卻後脫模的樣子它的四周圍是不是很光滑
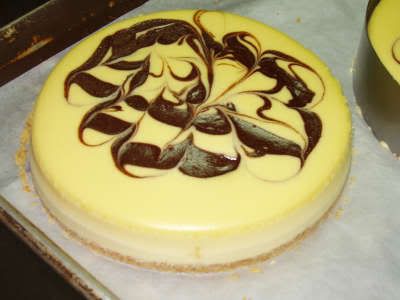
10.
烤的溫度很低大約165度 上火30 下火不開 墊烤盤~~
烤的時候要很注意不然上面會裂開大約烘烤時間 85分~90分 (粉不好做的呦~~)